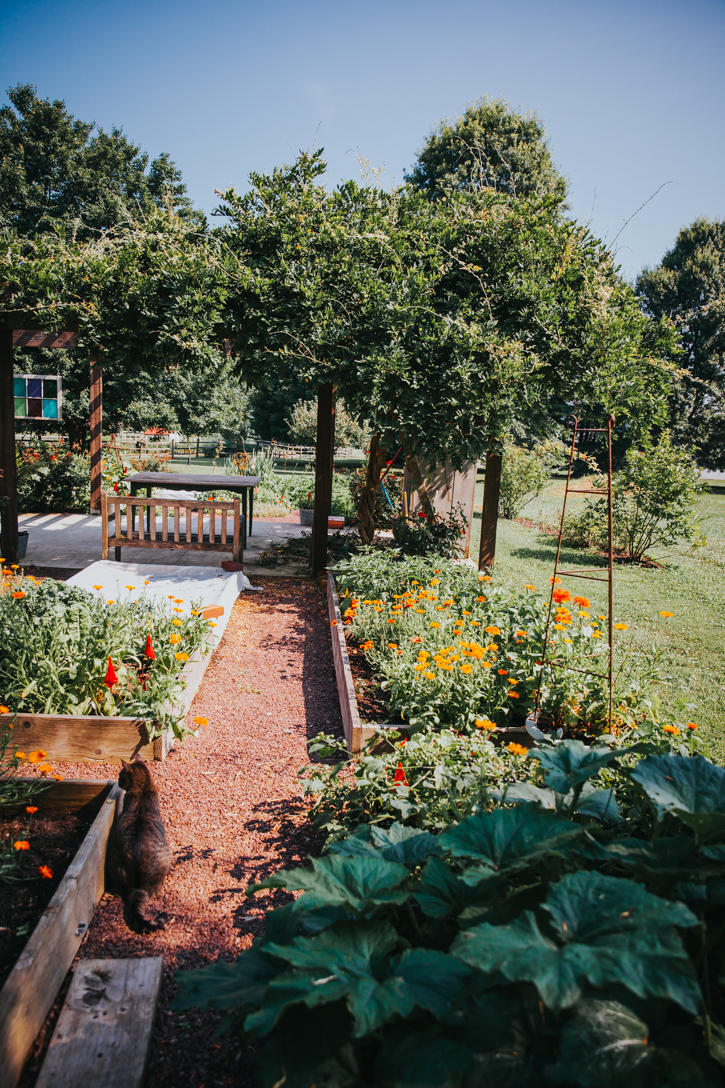
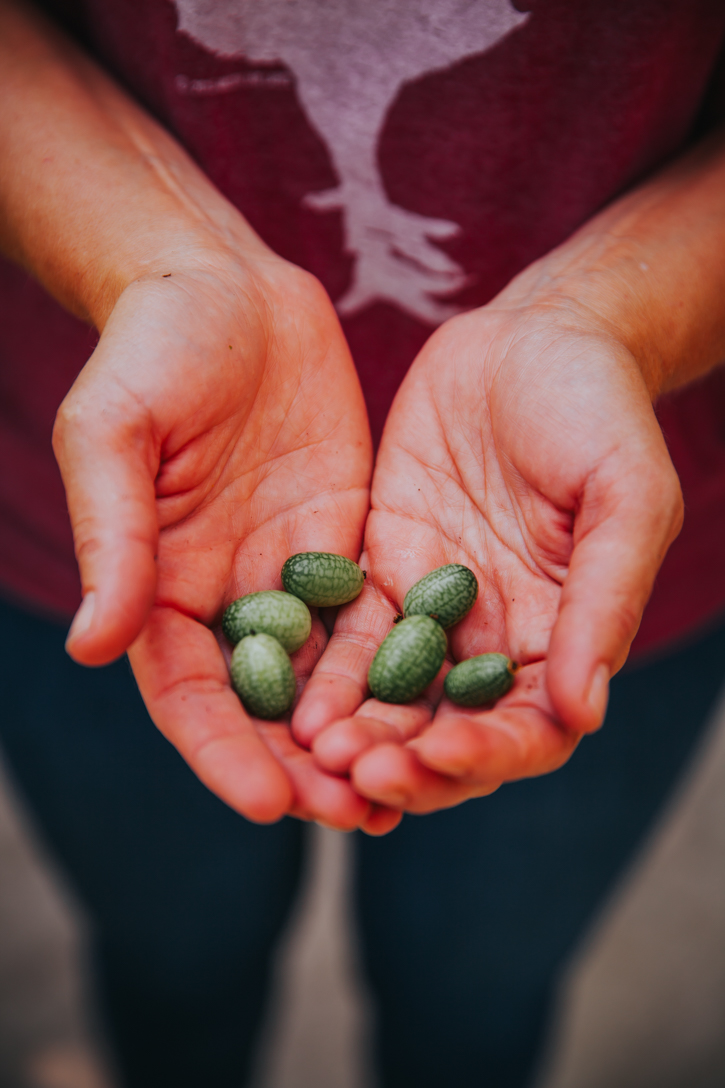
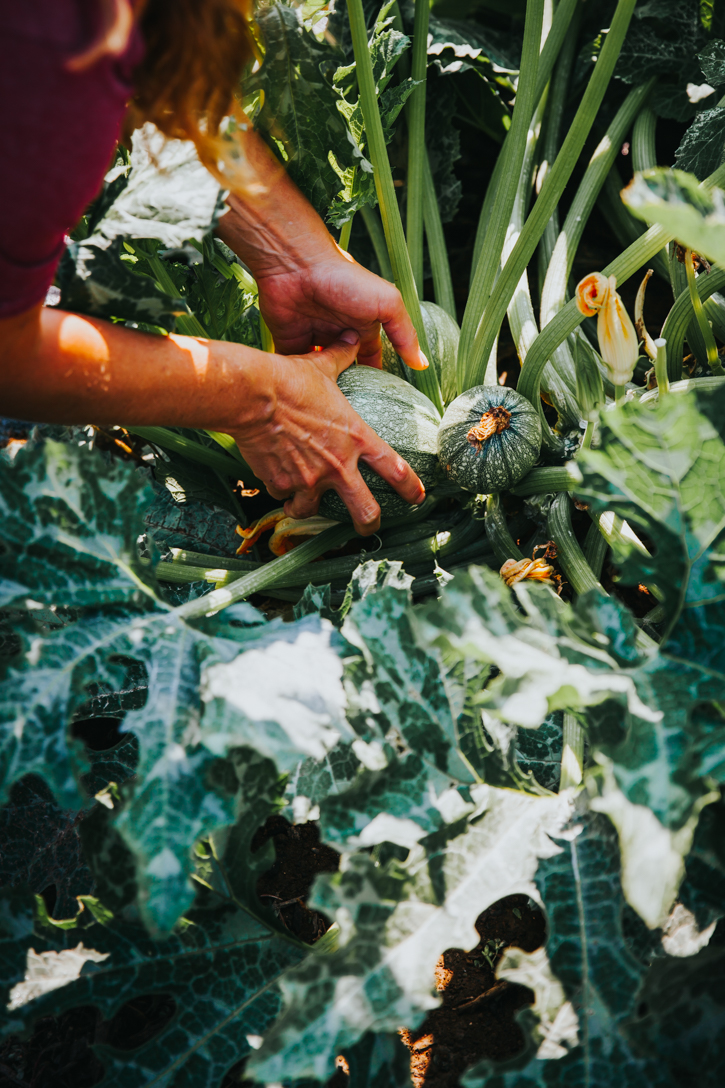
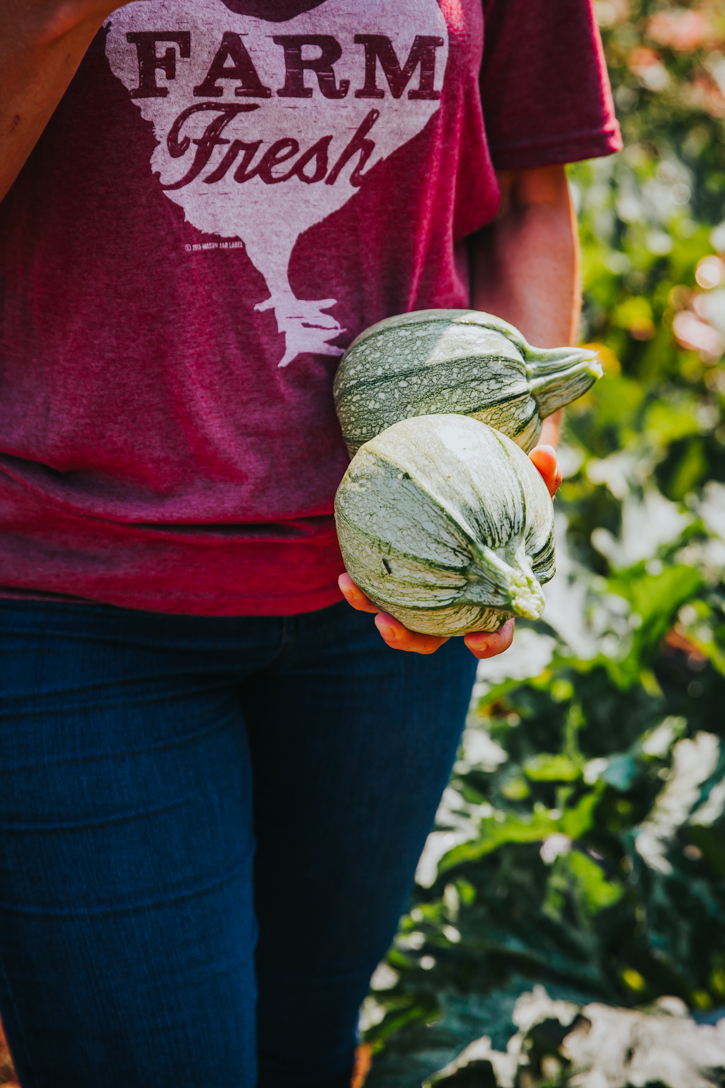
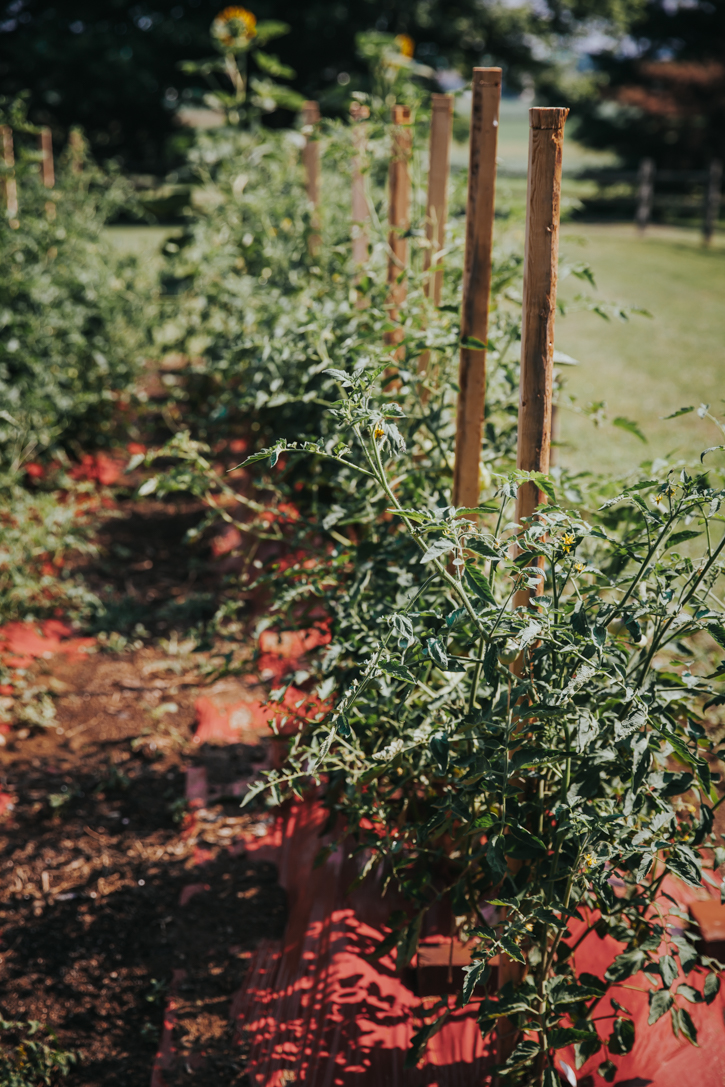
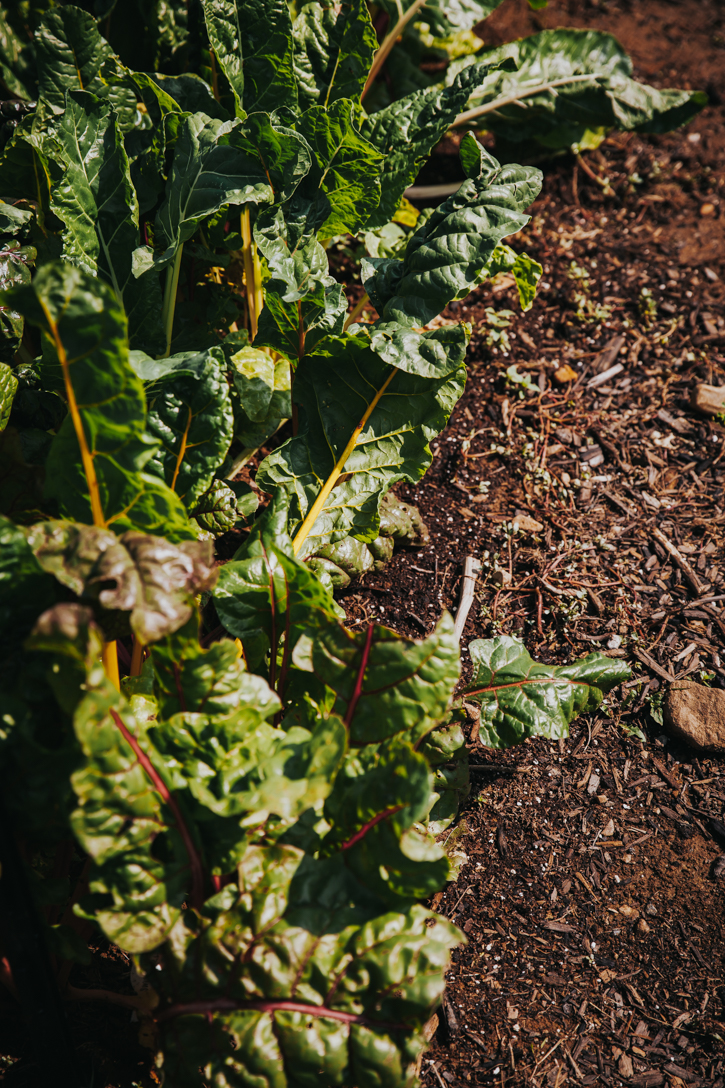
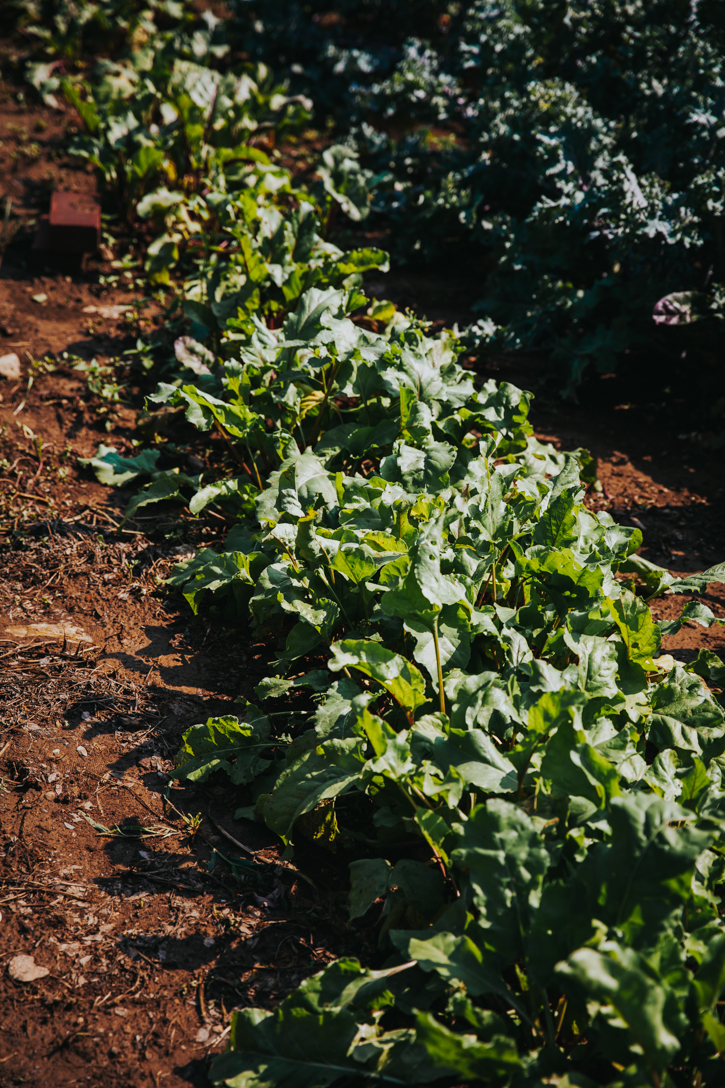
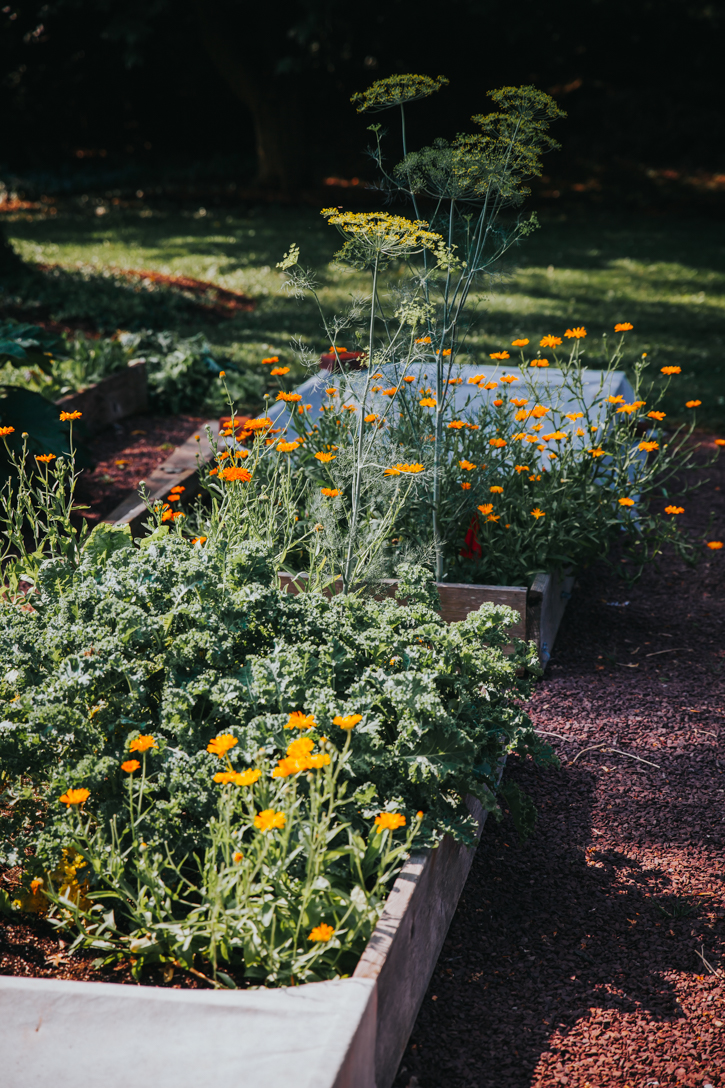
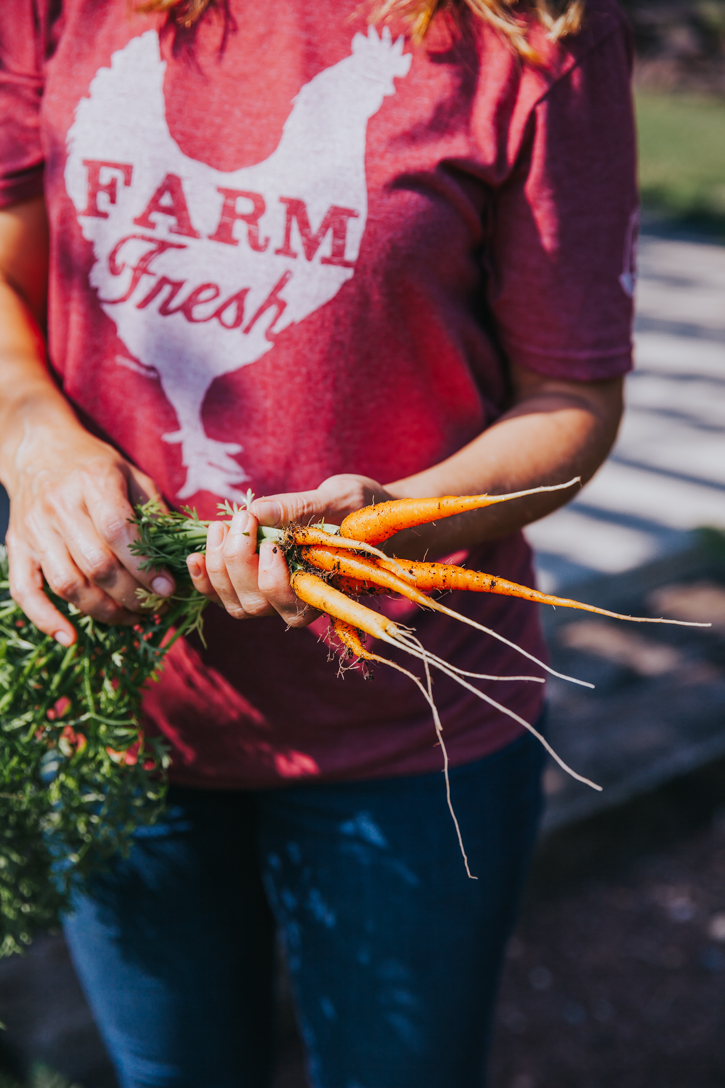
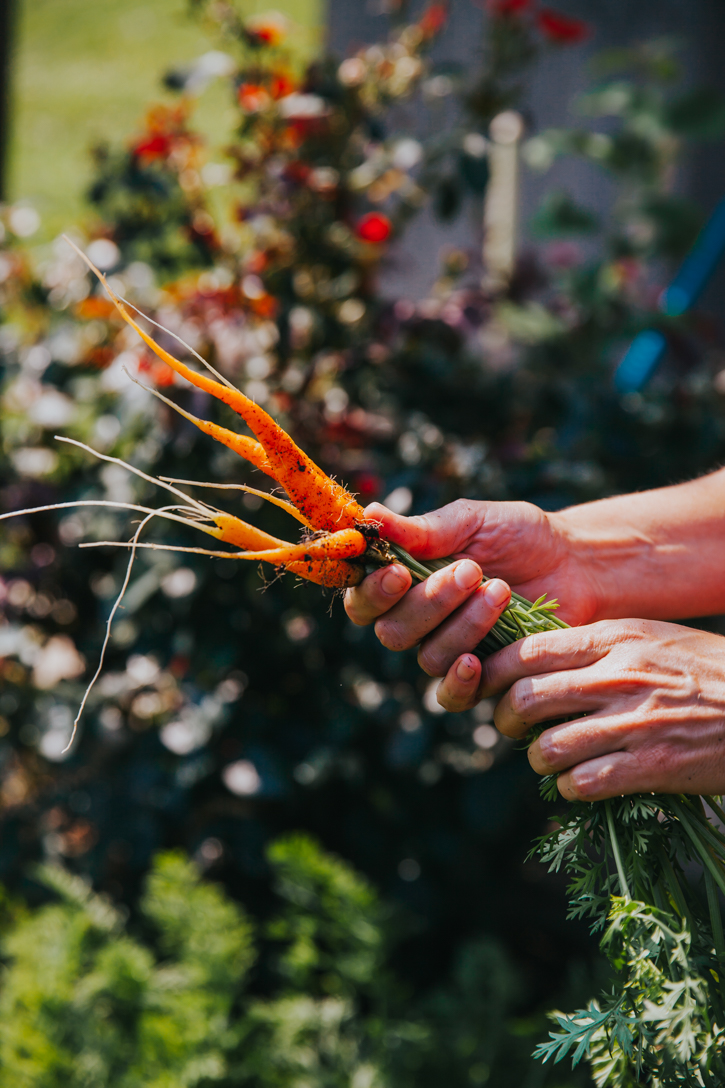
Ahh!! Feel my excitement because this is the FIRST installment of A-Yo Kitchen’s Local Project! And there are two reasons this is a wonderful first for this project, the lady behind Mr Farmer’s Daughter, Cherise, is not only a wonderful food stylist, photographer, blogger, and farmer, but she’s also a personal friend that I have had the pleasure of working with in my previous life in the corporate world. She not only runs the gluten-free blog, Mr Farmer’s Daughter, but she also runs a ‘pick your own CSA,’ which is totally unique in itself. People who sign up, get to come to her farm every week, and depending on what’s in season, get to pick what they’d like for their CSA. Not only does it cut down on waste, but it also let’s clients pick what items they like. She grows a TON of fresh veggies and herbs from Swiss Chard and tomatoes to dill and beets. Each week varies by what can get picked, and what people can take home. A one stop shop for all those foodies out there looking to cook with lots of fresh produce!


Just mildly obsessed with these dill fronds.
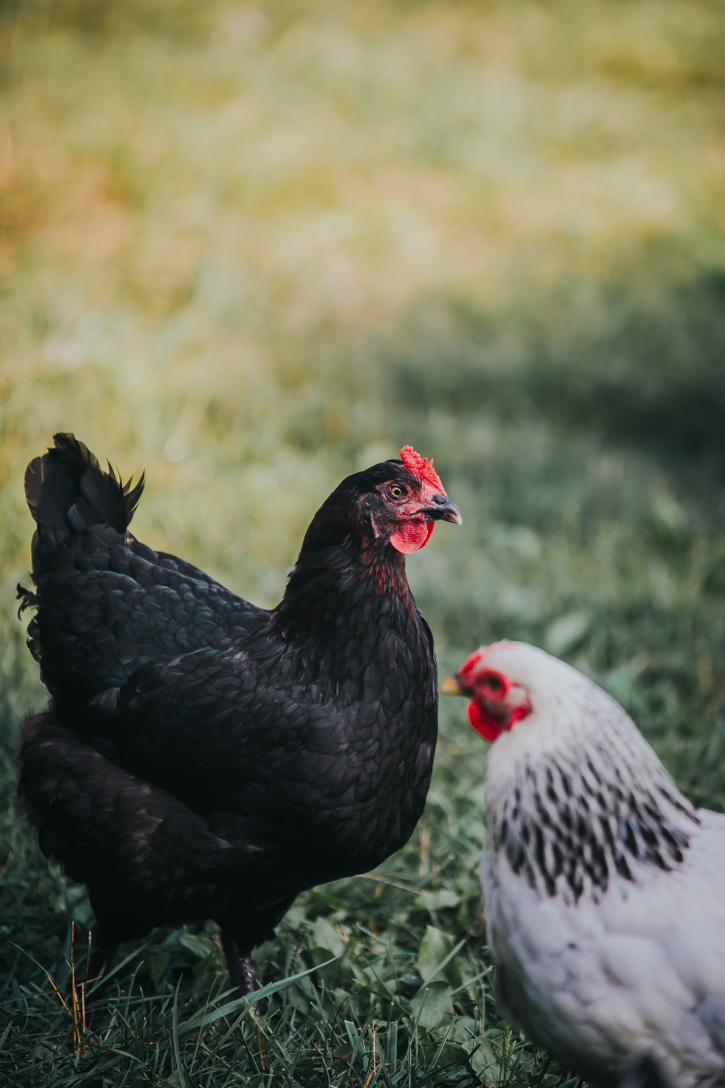
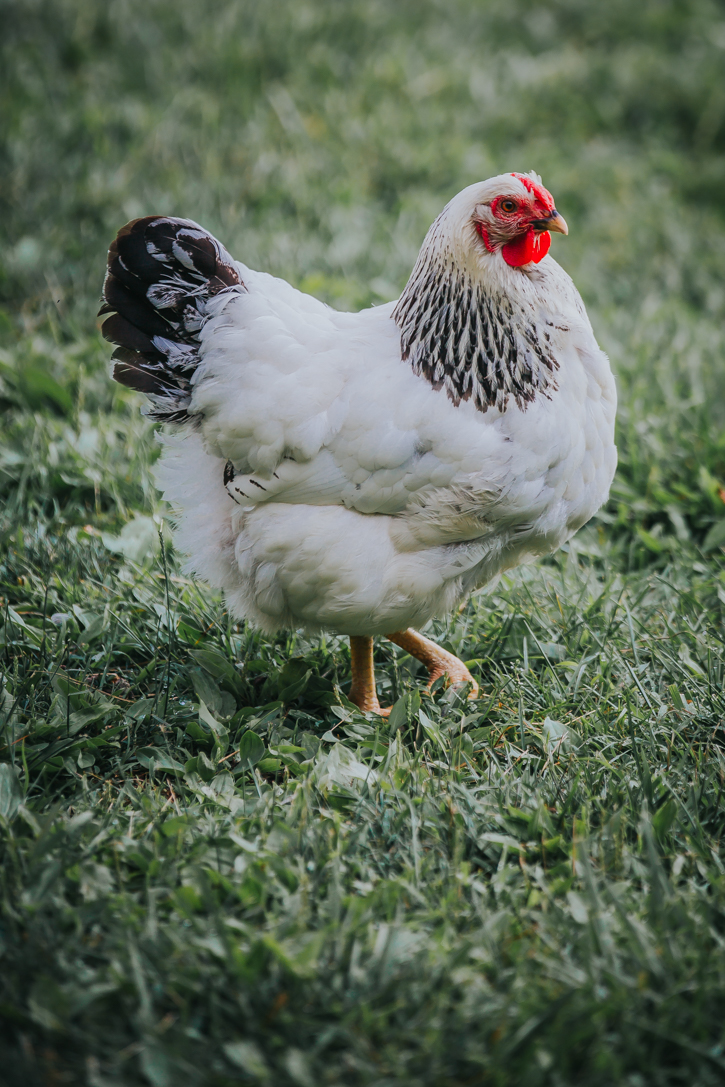
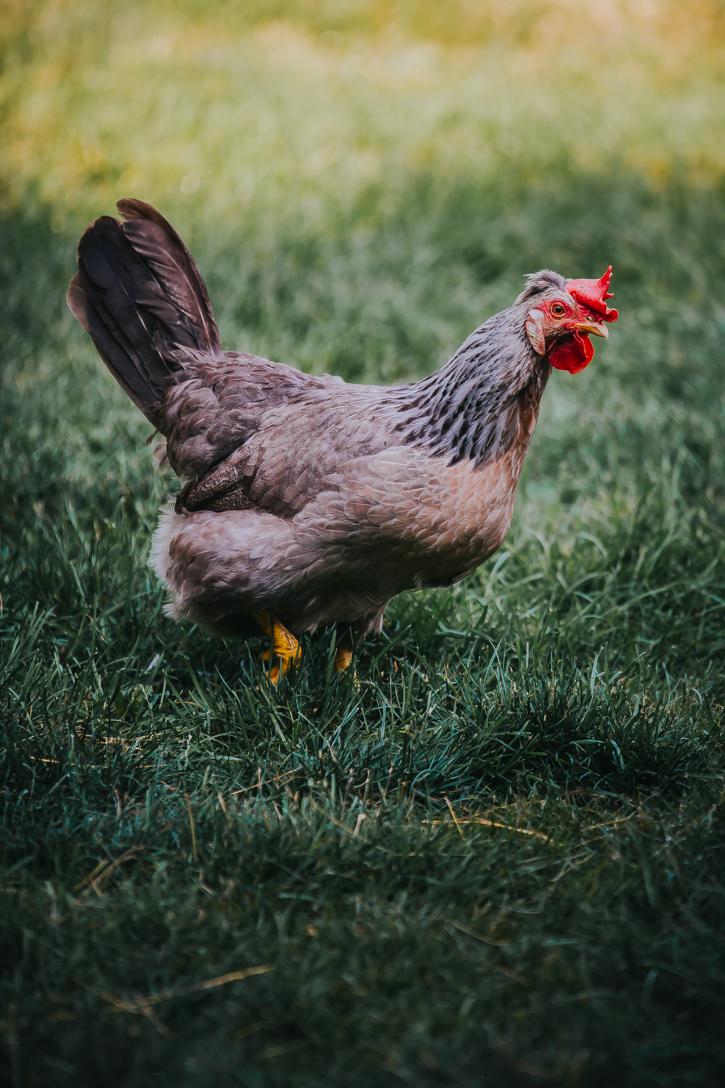
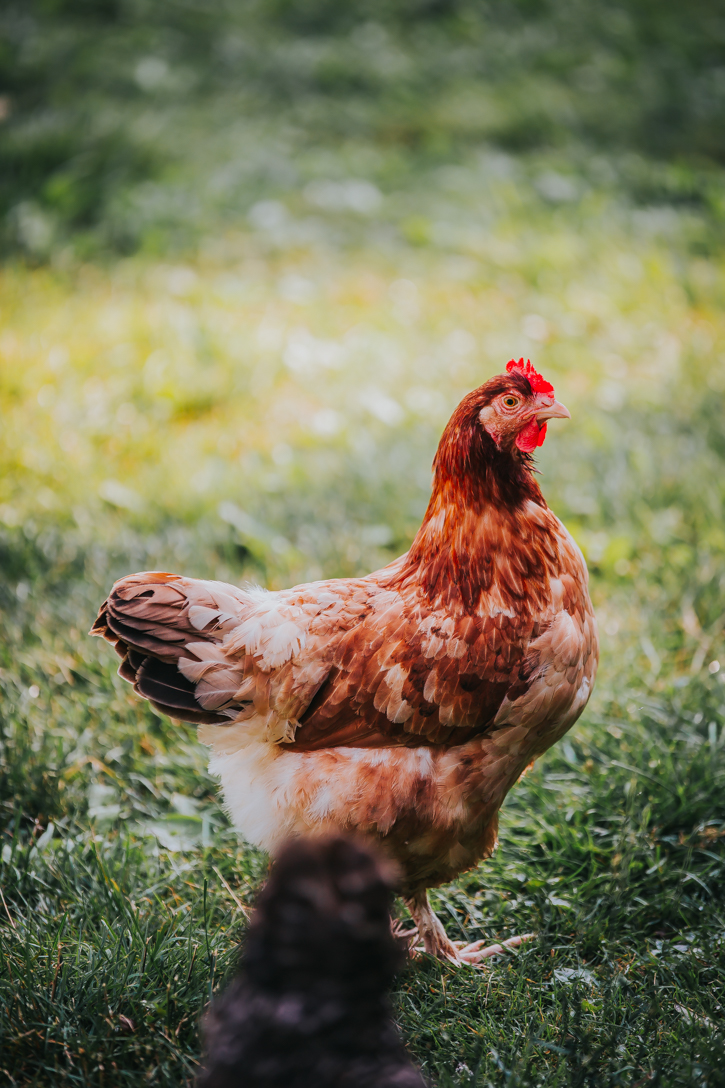
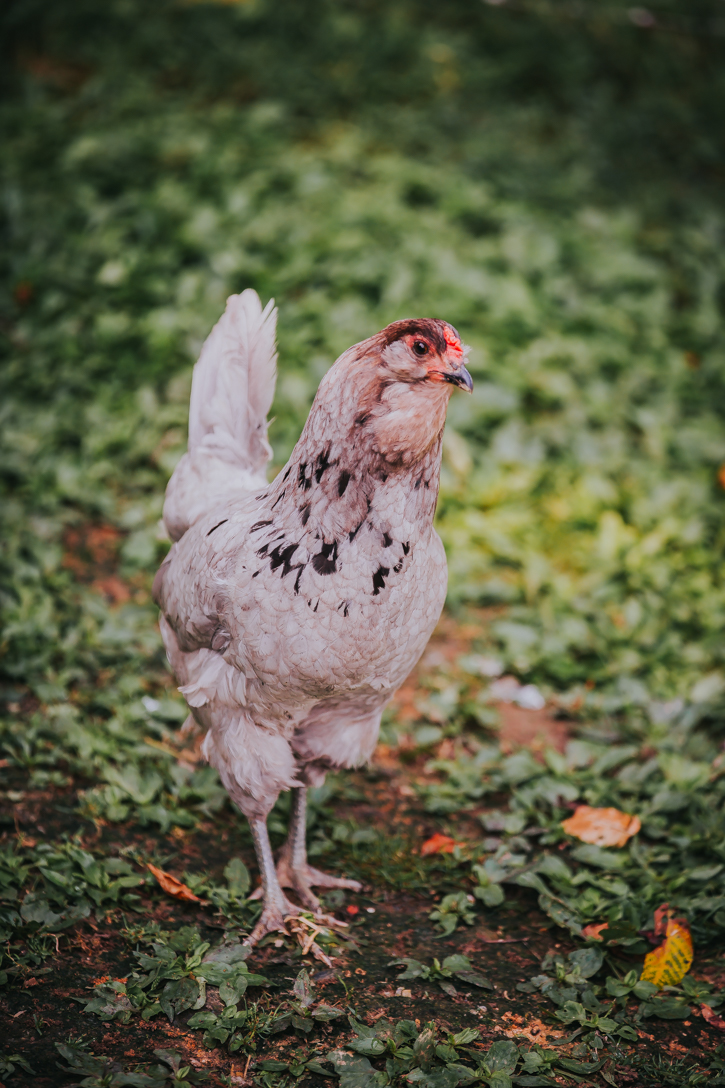
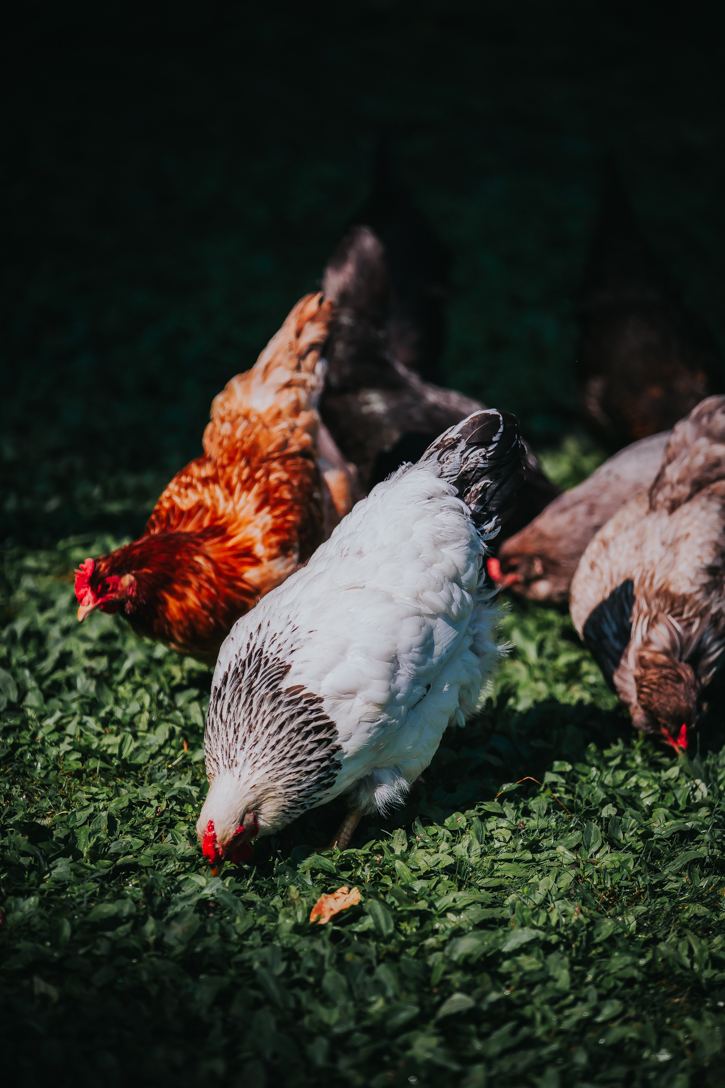
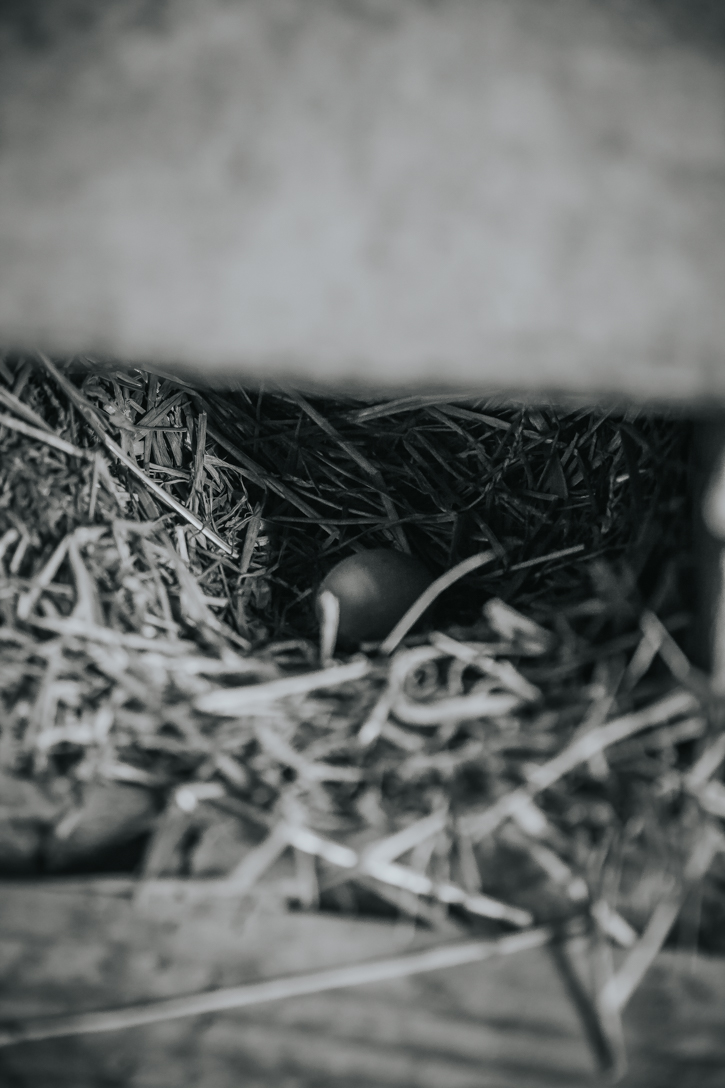
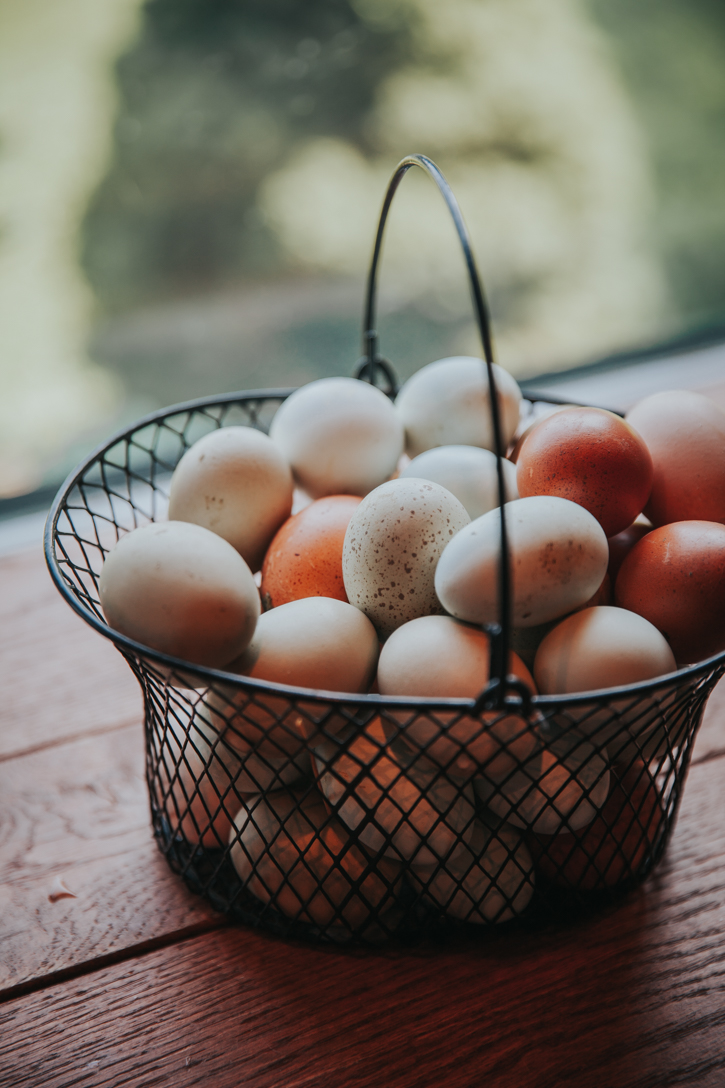
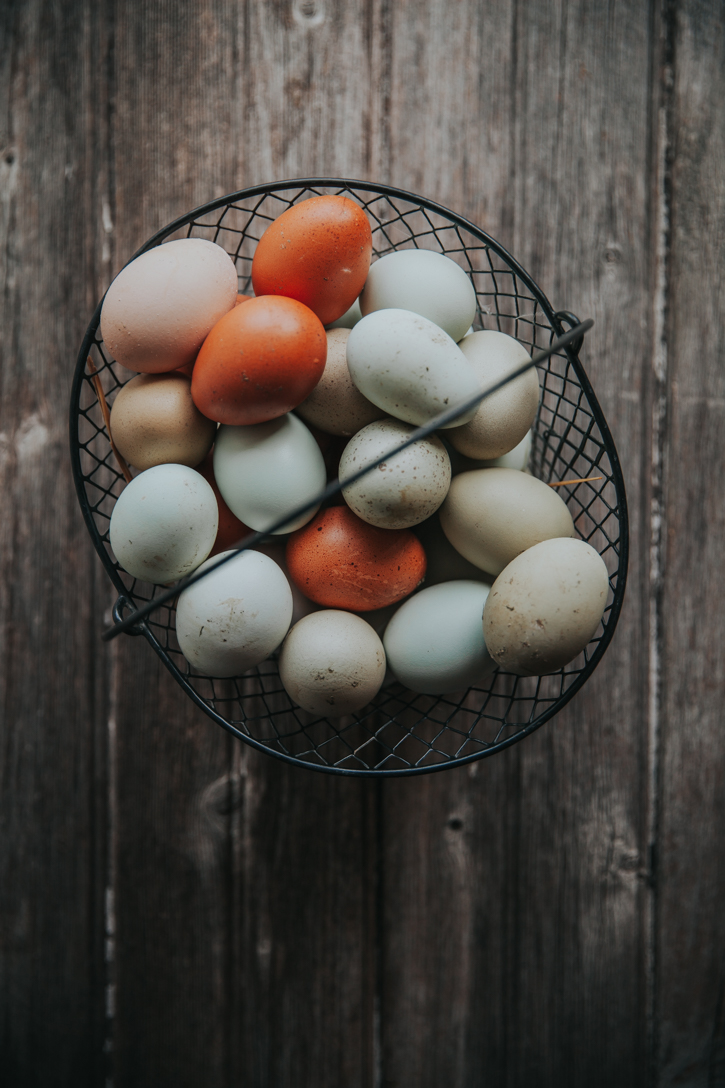
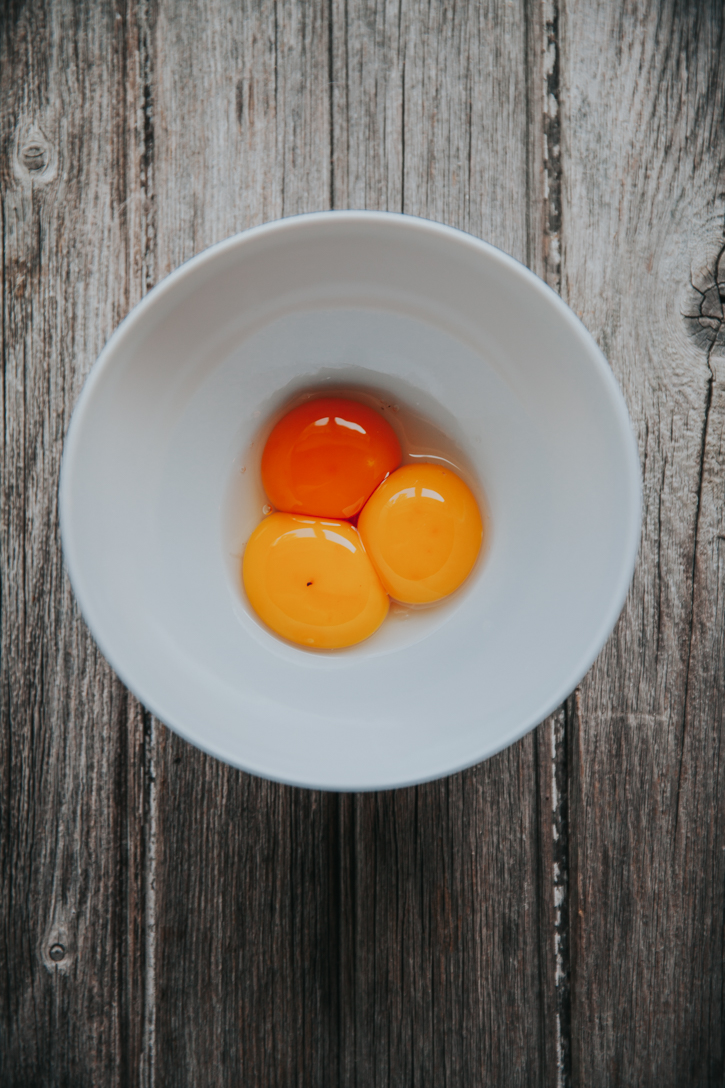
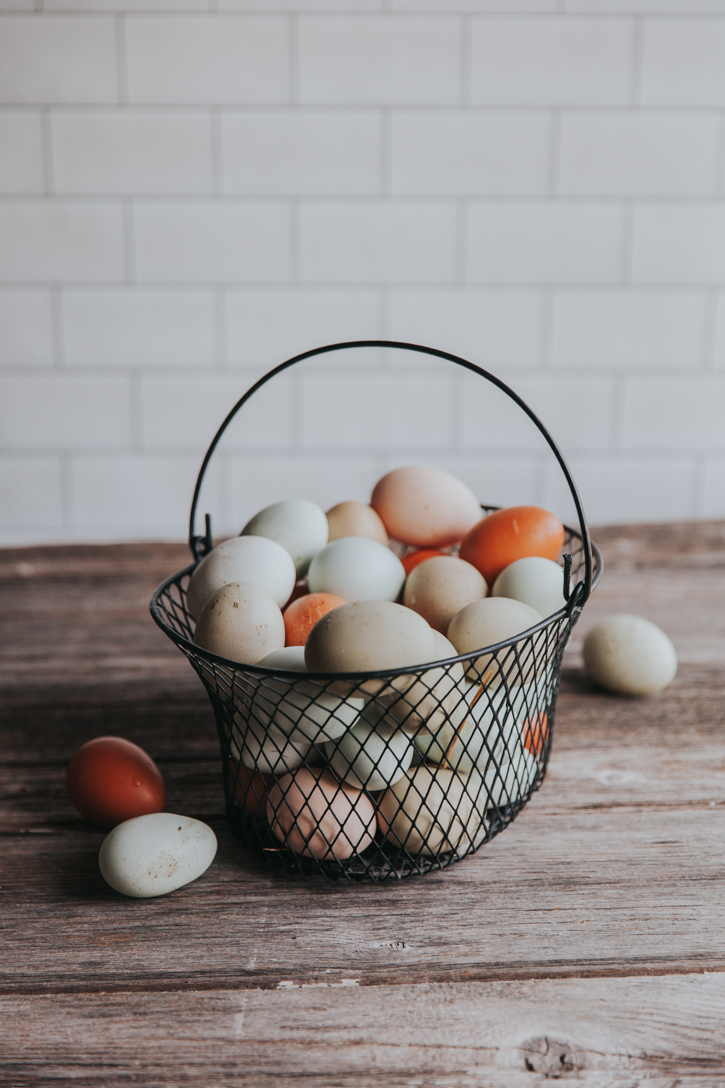
Cherise doesn’t just do CSAs either, she also sells the most beautiful, multi-colored eggs from her brood of 25 chickens. They come in dark and light brown, blue green, light pink, white, and even speckled. They’re all organic to boot too! She’s been raising chickens for 8 years, and sells her eggs by the dozen. If the lovely shell colors don’t give it away, the dark rich yolk color should tell you how different these eggs are from the ones at your local grocery store! You can read all about the different breeds she has here on her blog, as well as what chickens she raises and how she gets all those lovely Easter egg colored shells!
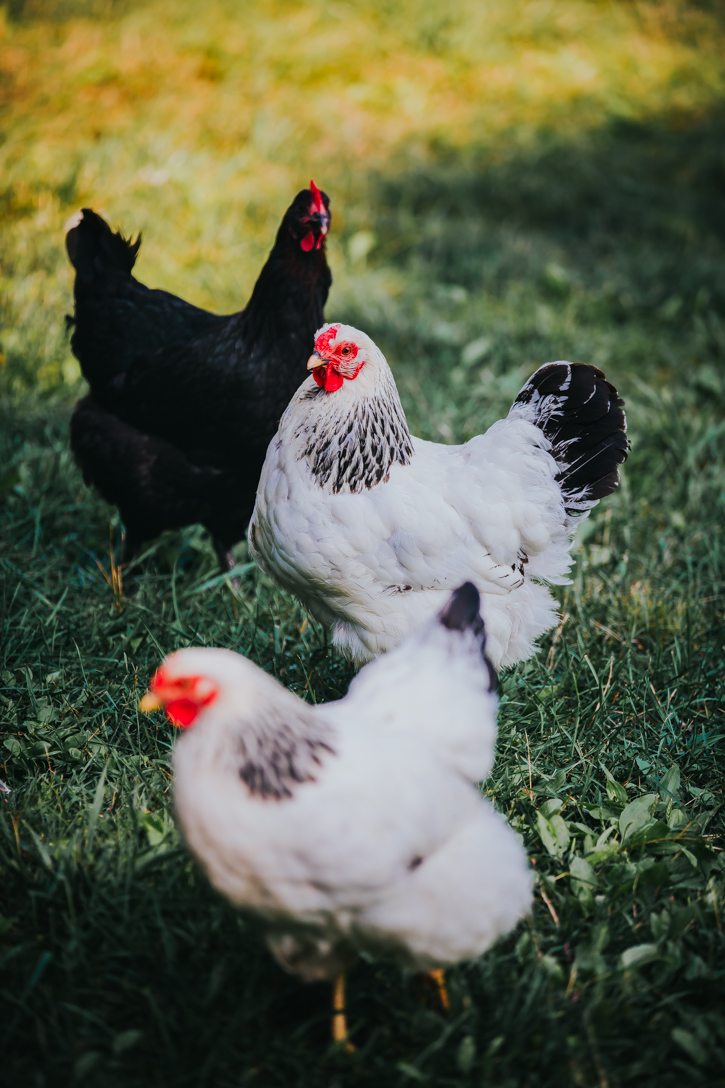


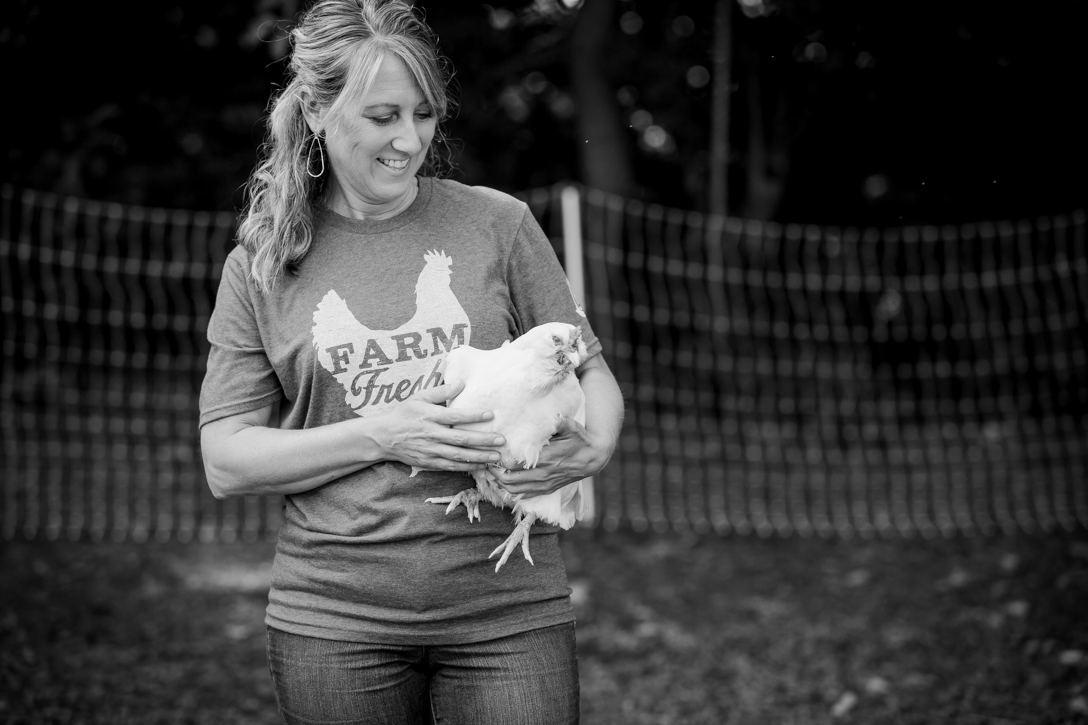
Notice the chandelier, chickens living it up in style!


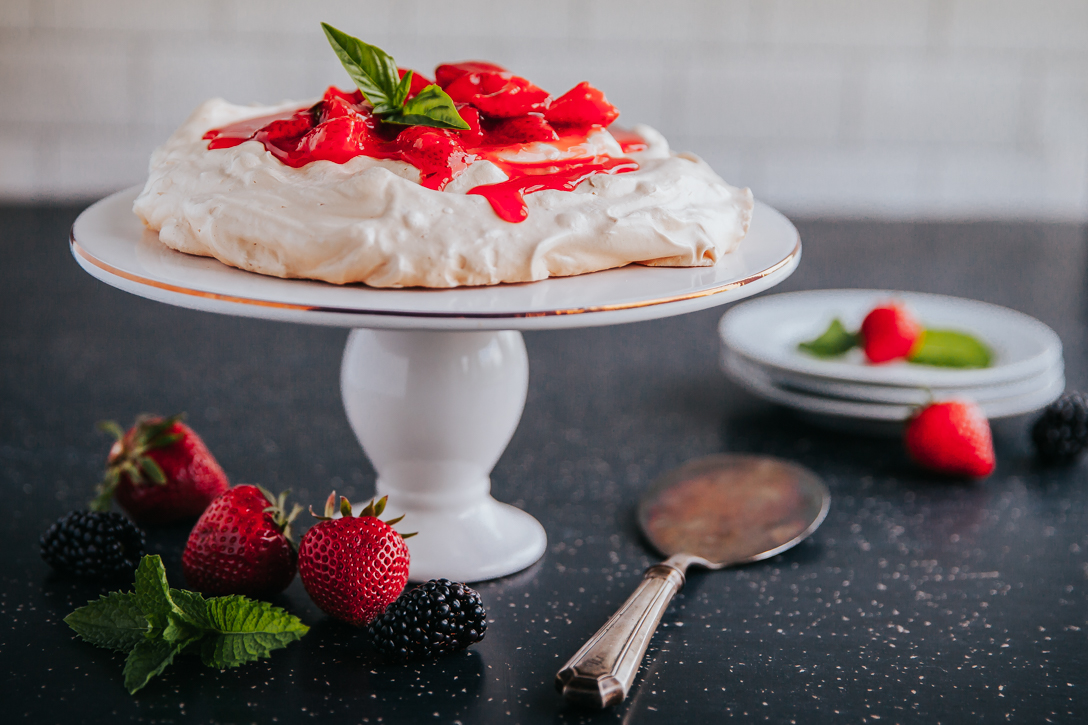
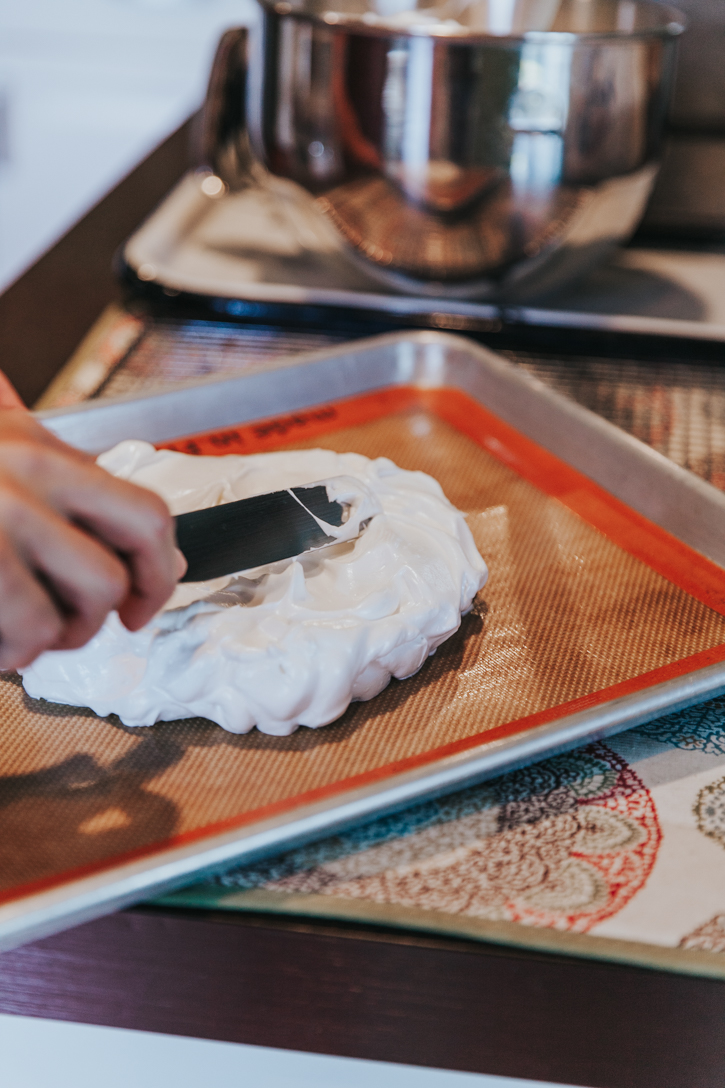
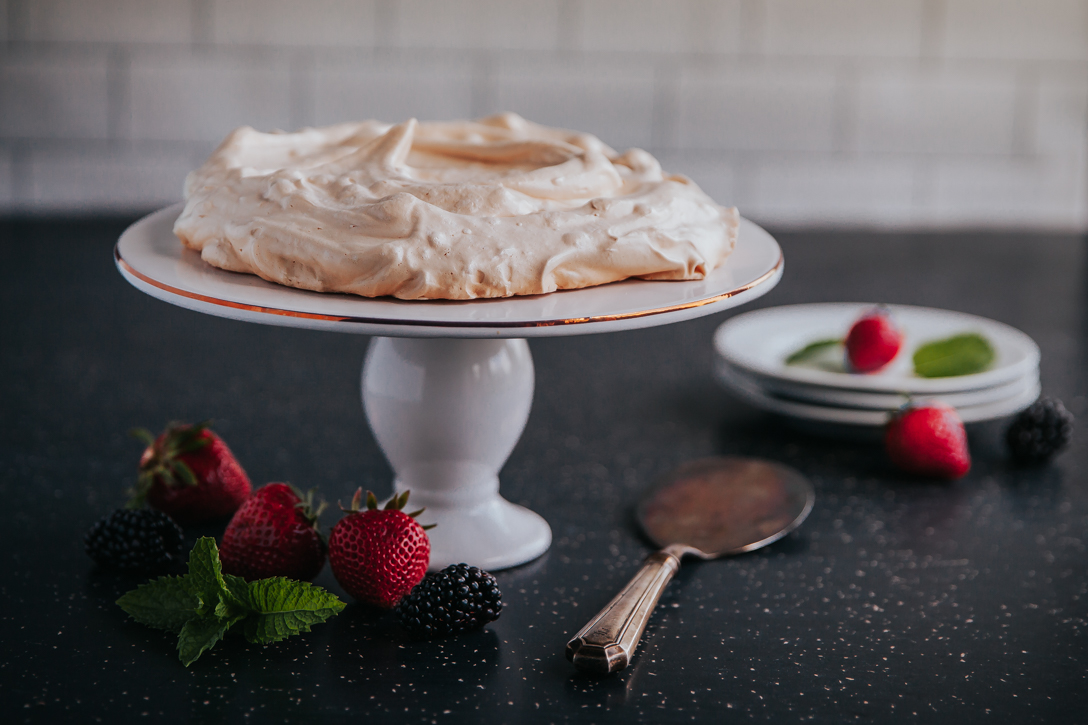
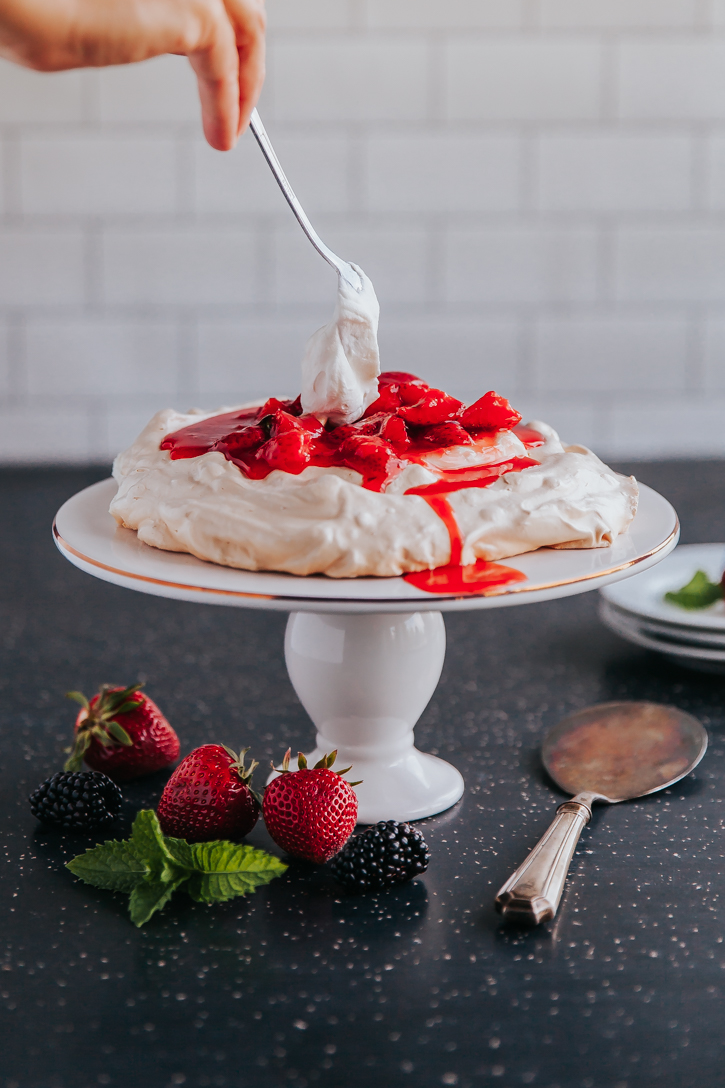
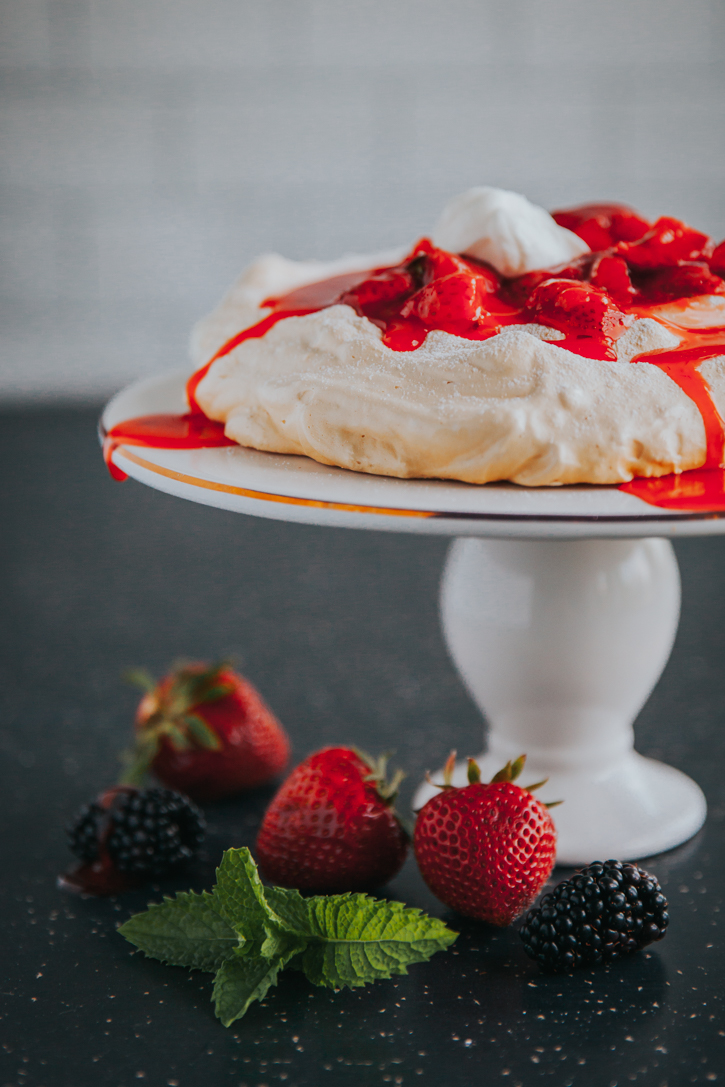
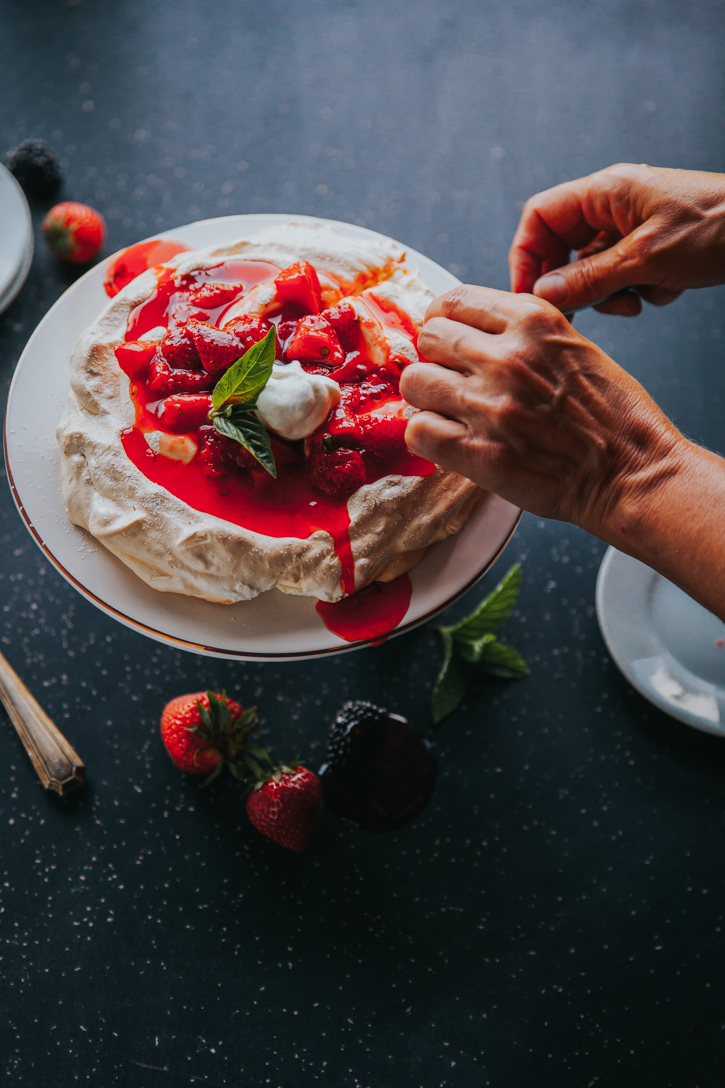
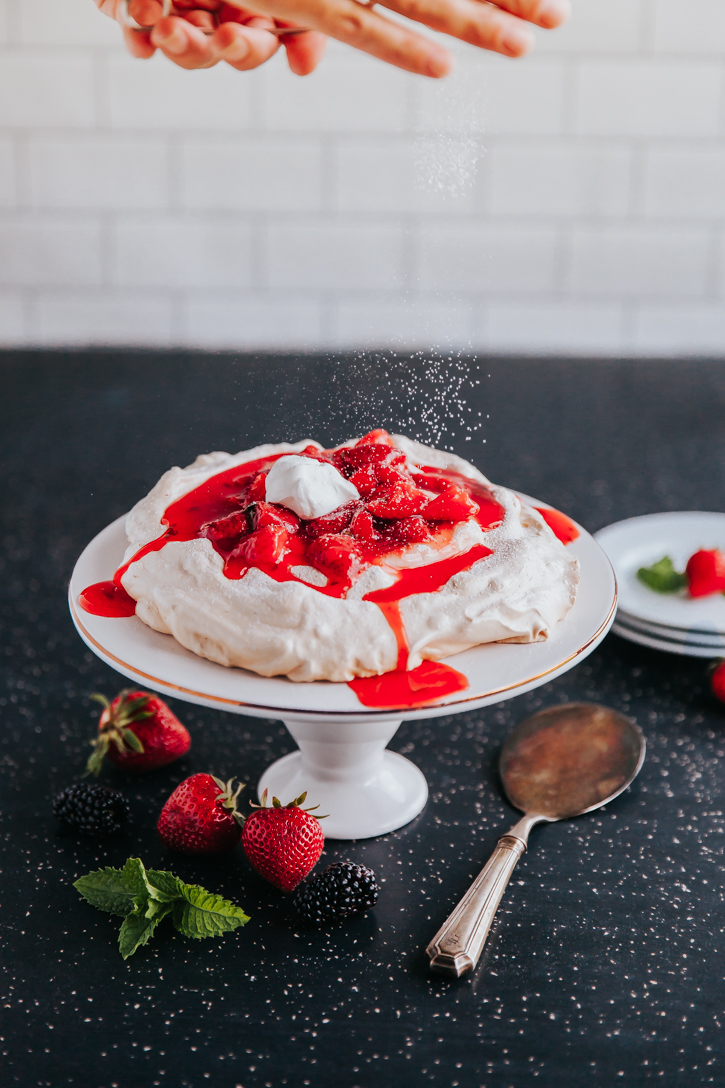
 So what recipe have we come up with, you might ask, with all these lovely eggs and produce? Cherise and I have teamed up to create a lovely pavlova recipe done two different ways. The same pavlova base, but two different toppers! I’ve focused on the delicious flavor of Strawberry Basil Pavlova, highlighting not only those delicious eggs from all of Cherise’s chickens, but also all that fresh basil from her garden! Now this recipe will be affected by humidity, so plan accordingly if you don’t have AC! It will still taste delicious, but it won’t get that crunchy exterior that Pavlovas are known for. This bakes low and slow, so make sure to include that in prep time. These are best eaten when fresh and, once you top it, you pretty much have to eat it. Not that you’ll complain, these are both two delicious recipes! So grab your beaters and some yummy local eggs, and whip up this Strawberry Basil Pavlova! And to see our other creation, head over to Cherise’s blog here, for her take on pavlova topping!

Ingredients:
For the Pavlova:
- 6 eggs, separated (use those yolks in my favorite custard recipes here)
- 1/2 tsp of cream of tarter
- 1 1/2 cups super fine sugar
- 1 tsp vanilla extract
- Pinch of salt
For the topping:
- 4 cups of strawberries, hulled and quartered
- 1/2 cup of granulated sugar
- 1 1/2 T cornstarch
- 2 T water
- 1/2 T of minced basil (added once removed from heat)
Optional:
- Fresh whipping cream for topping (whipped cream + powdered sugar)
- Fresh strawberries for topping
- Fresh basil for topping
Instructions:
If eggs are refrigerated, remove the night prior to make sure they are room temperature. Preheat oven to 300°. Separate egg whites from yolks. Set egg yolks aside (use for my favorite custard recipes here). In a large bowl place egg whites, cream of tarter, and salt, and begin beating slow and increase speed, gradually beating in sugar until egg whites form stiff shiny peaks. Fold in vanilla. On a baking sheet lined with parchment or baking mat, spread egg white mixture into one large round disc or two smaller discs. Spread evenly, flattening top, and smoothing the sides. Place in oven and immediately reduce heat to 275°. Cook for 1 hour and then turn oven off and let sit in oven for up to 2 hours (or until oven is cool to touch). Whatever you do, don’t open the oven during the cooking process! It lets in moisture and lets out the heat!
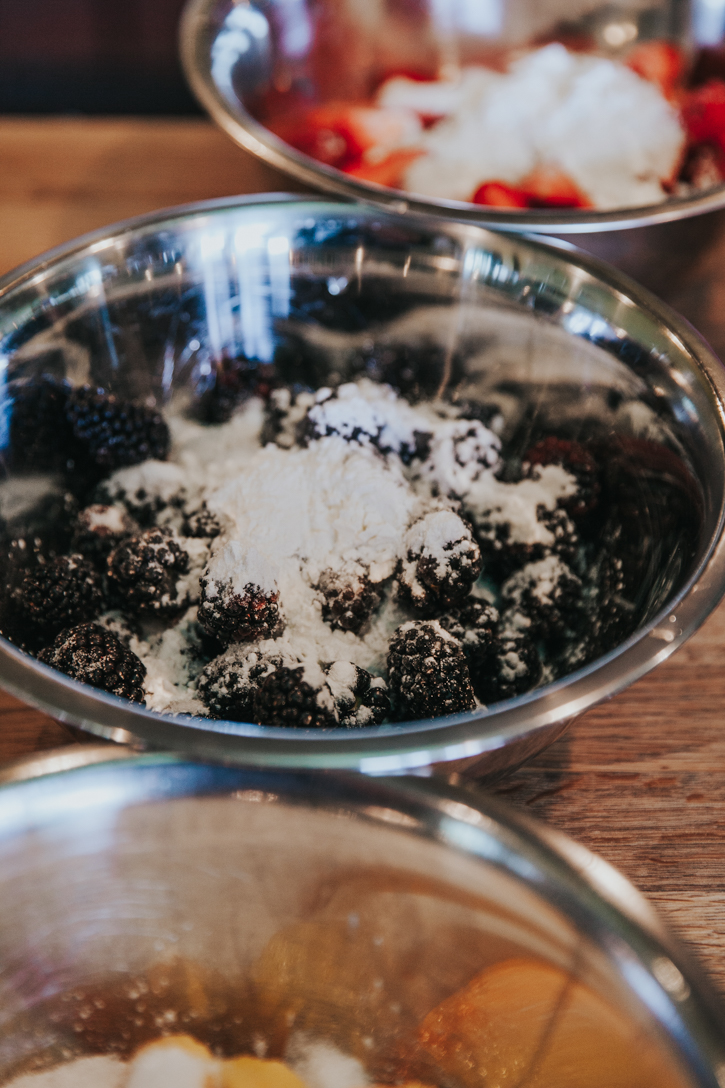
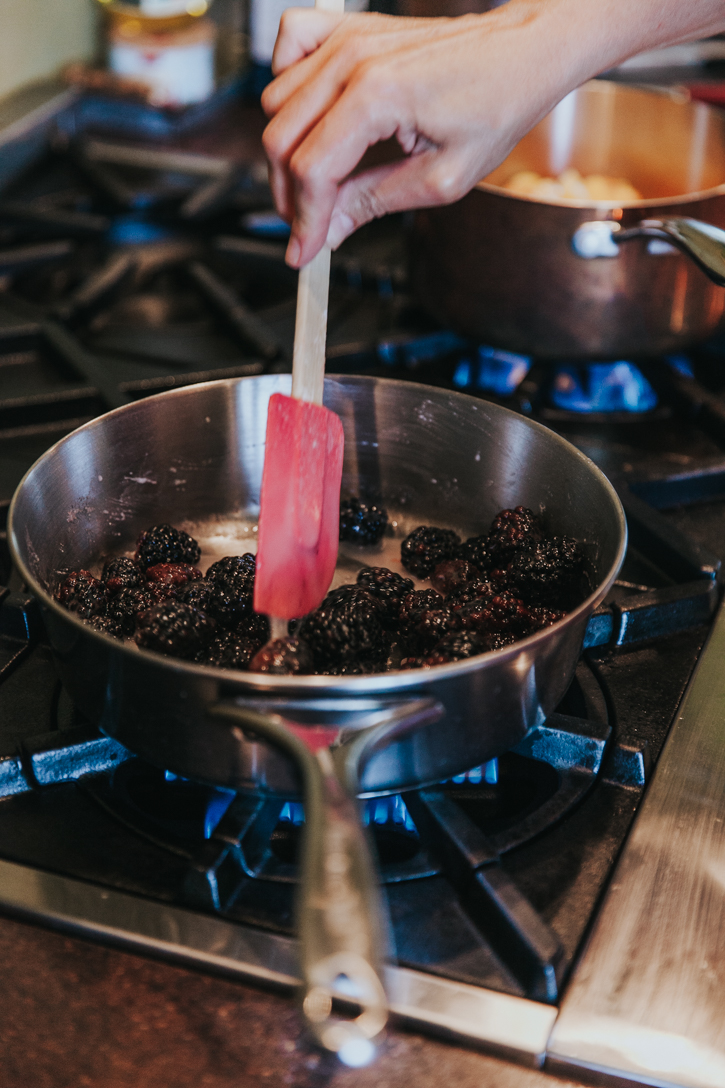
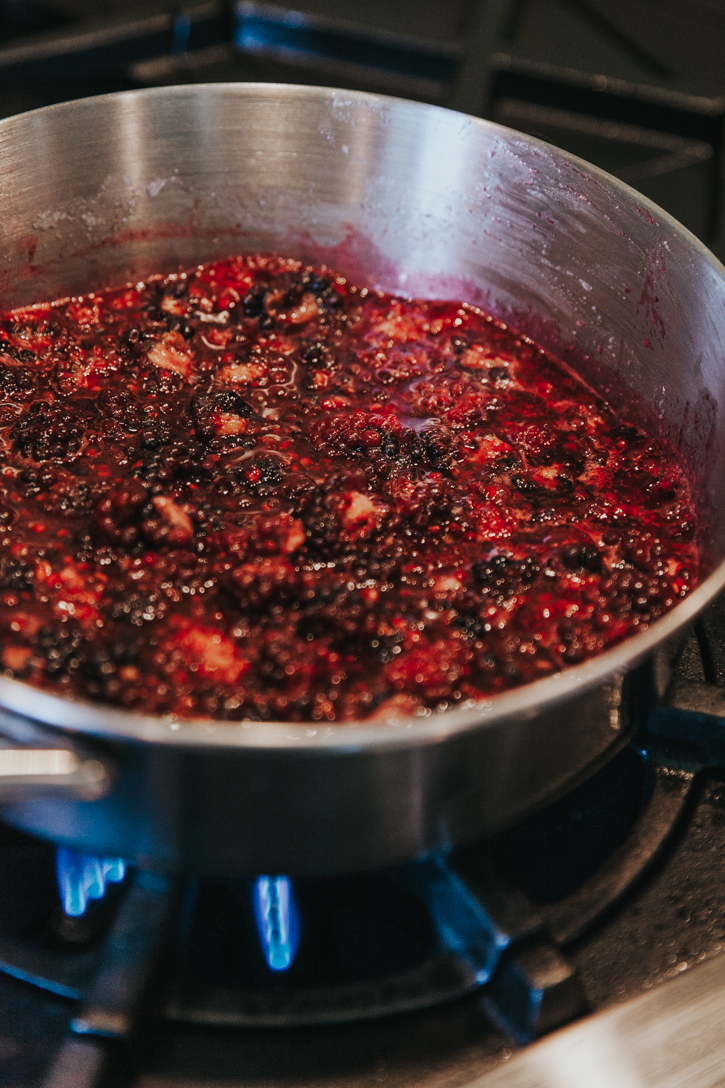
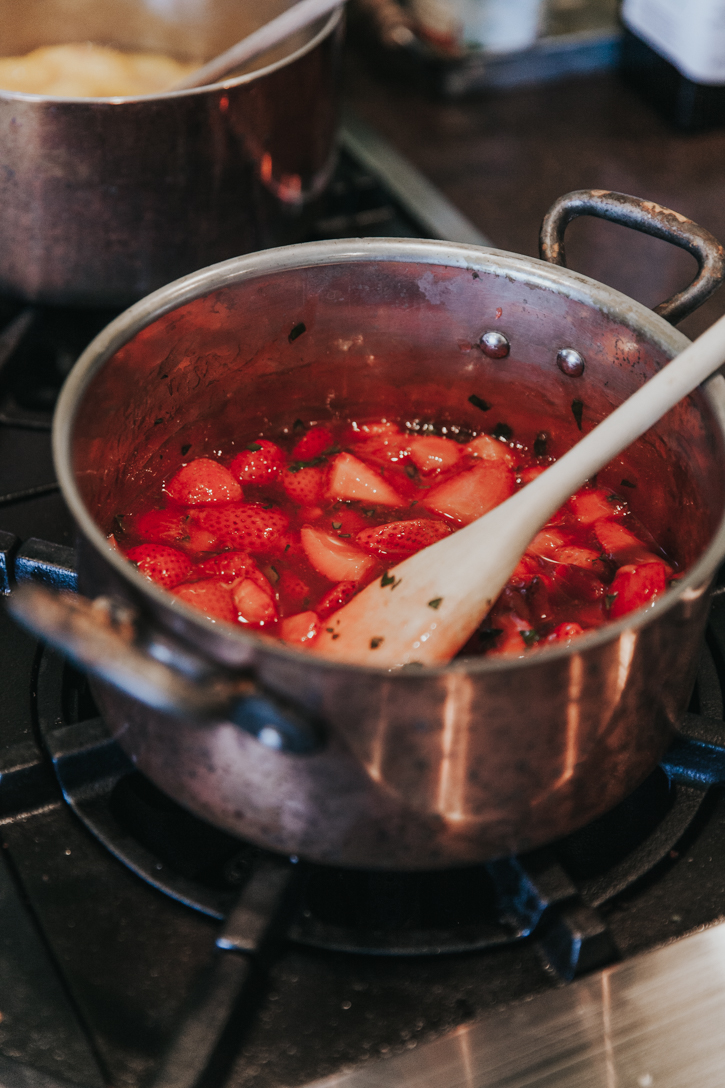
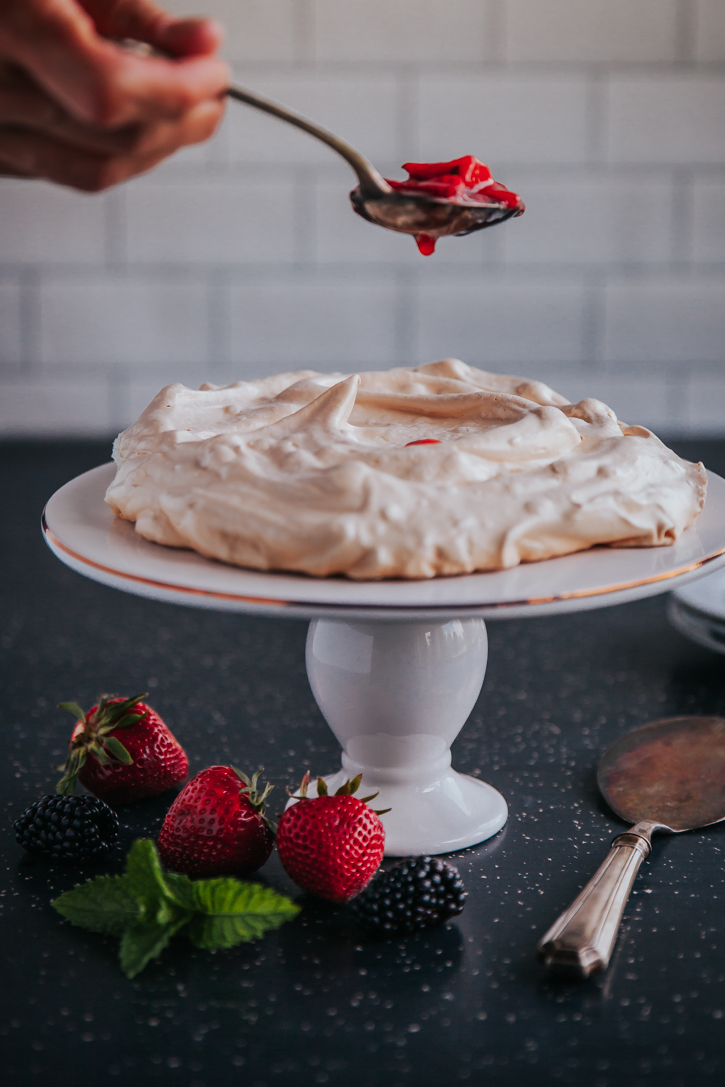
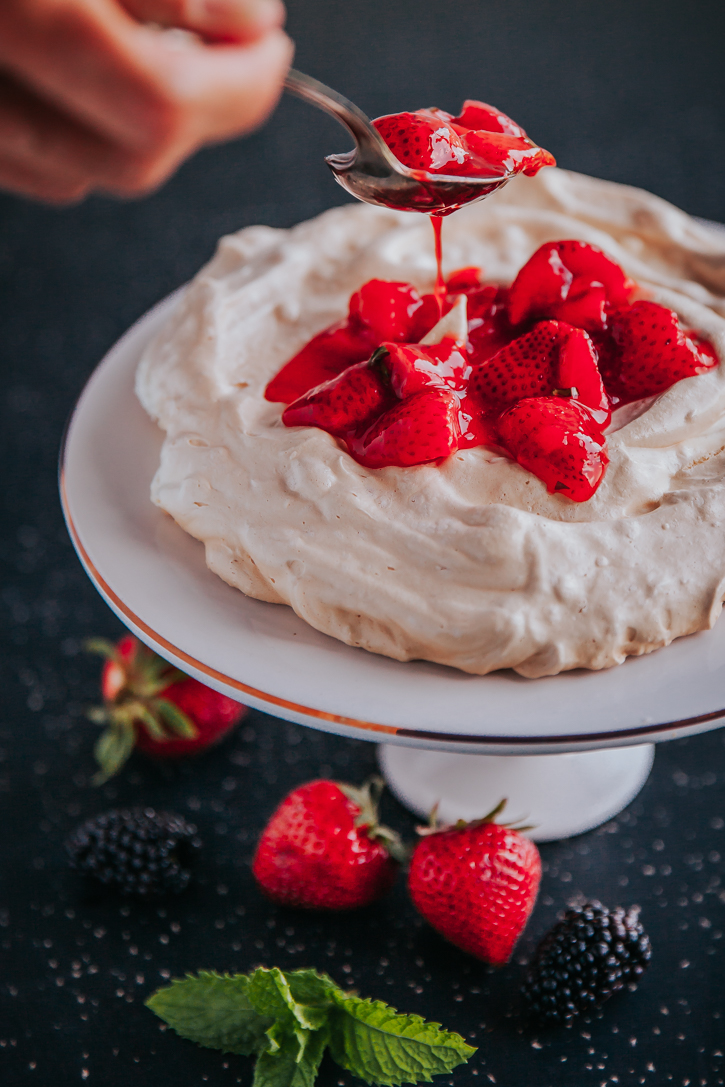
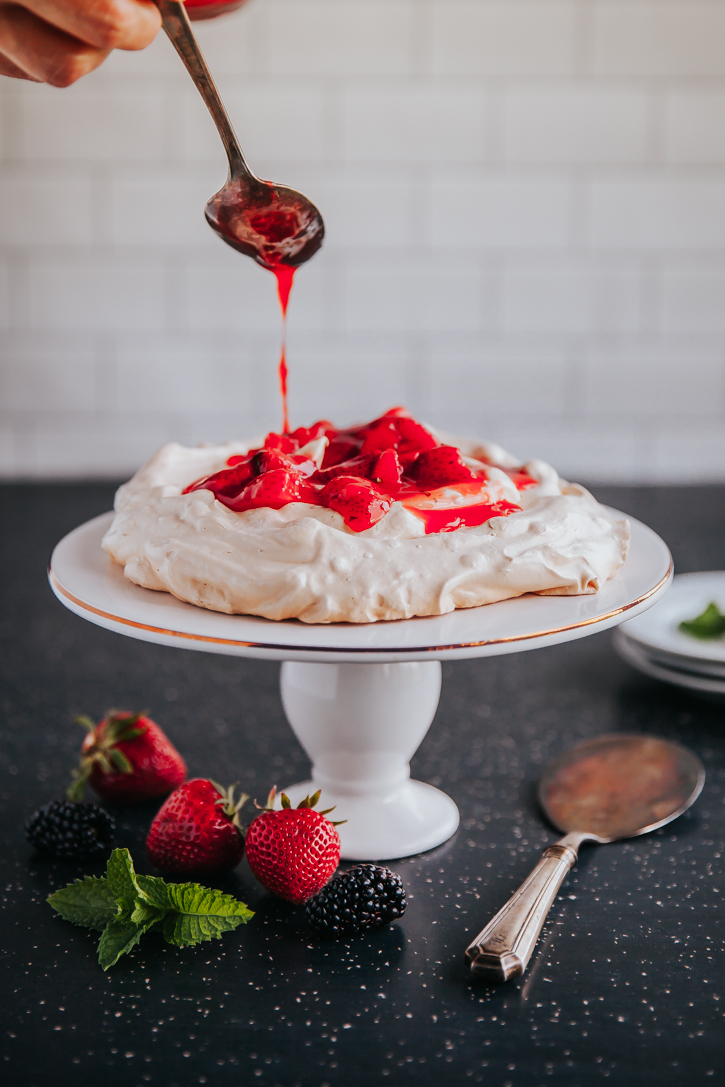
For the topping, while you’re pavlova is cooking, cut strawberries, and mix them together with sugar, cornstarch, and water until evenly combined. In a pan, cook on stovetop on medium-high heat until berries have begun to cook down, all the sugar has dissolved, and the liquid has started to thicken. Remove from heat and stir in minced herbs (this will all thicken as it cools).
To serve, remove pavlova from parchment and place on plate or serving dish. Spoon fruit topping evenly over pavlova. Top with option garnishes and serve immediately!
Now for another great topper (hint, it’s in my garnishes in these photos), head over to Cherise’s blog here.


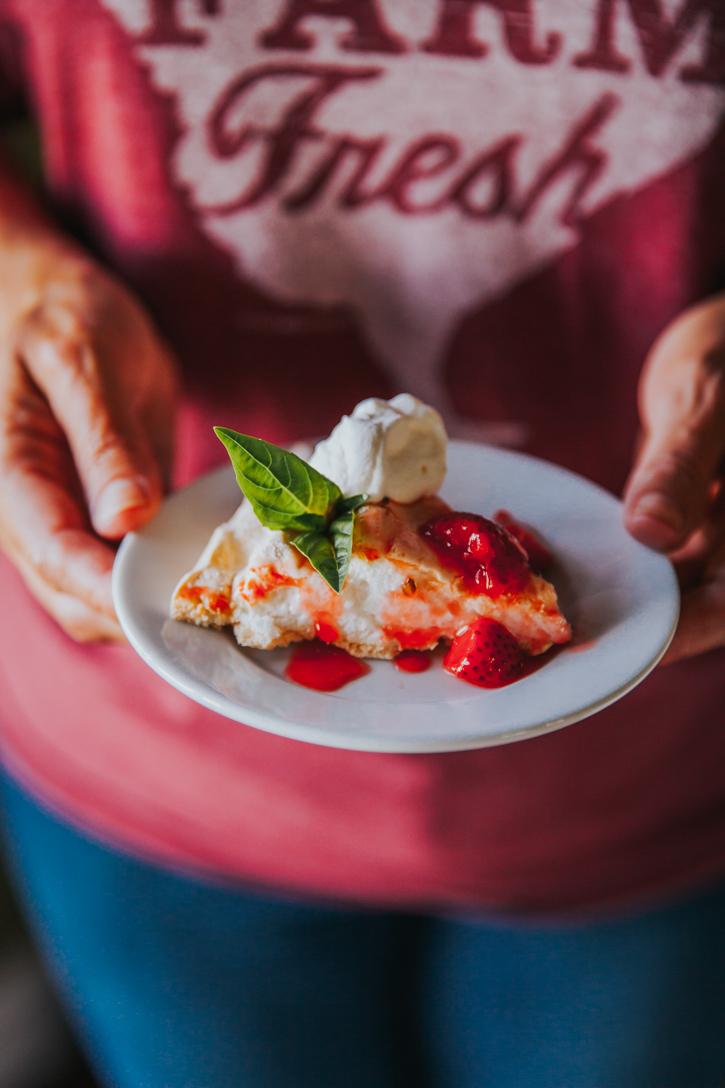
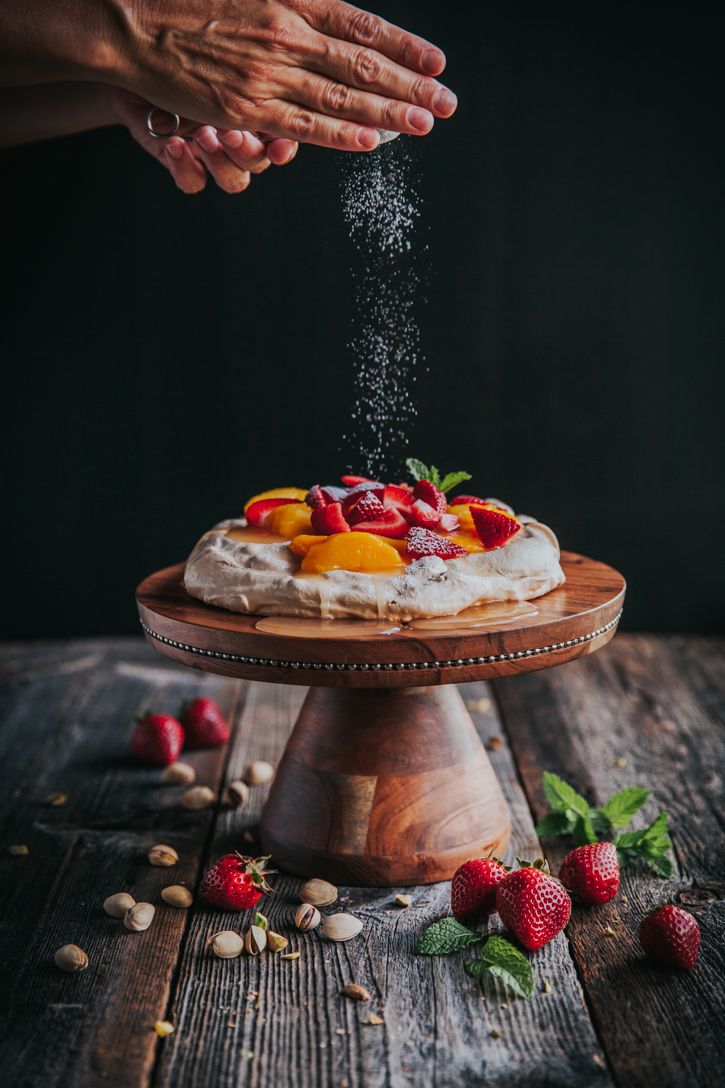
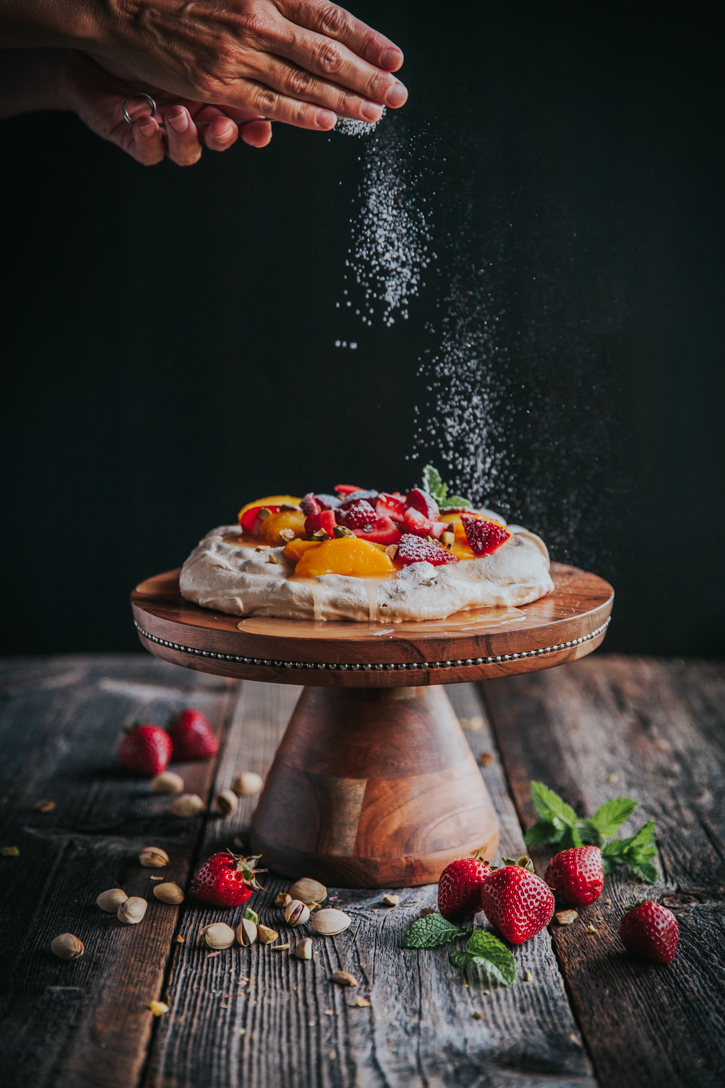
This recipe is super versatile. Just change up fruits to mix and match with you’re favorite toppings! Here’s another option with peaches and pistachios!